digest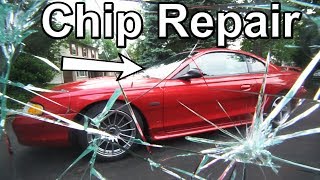
Short Summary
Main recommendation: Repair a small windshield chip yourself with a store-bought resin kit, but only if the chip is small enough and not on the edge; otherwise replace the windshield. The presenter, ChrisFix, demonstrates a vacuum-assisted kit on a Mustang, pulling air out of the chip before injecting resin, then curing it in shade for about an hour. He says the result is nearly invisible and prevents the chip from spreading.
Key Points
- Check repairability first: run a fingernail over the chip to feel an indent (or use the kit's push pin), look for an air gap, and confirm the chip fits under a quarter.
- Replace rather than repair if the chip is much larger than a quarter, sits on the windshield edge, or if there is a crack longer than about 8 inches, since these weaken the glass, which is a structural part of the car.
- Windshields use laminated glass (a plastic layer between two glass sheets) so they stay in one piece when struck, unlike tempered side and rear glass, which shatters into small pieces.
- The kit uses resin plus a vacuum syringe to remove trapped air, which the presenter says keeps the chip clear.
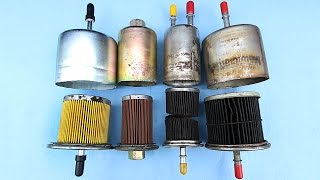
- Two common kit types exist: one handles multiple chips without a vacuum, the other pulls a vacuum but handles only one chip.
Details Worth Noting
- Concrete instructions:
- Park in shade or a garage, or run the car with heat on to warm the glass, but avoid direct sunlight.
- Place cardboard behind the glass so the chip is easy to see.
- Use the safety pin to pick out broken glass inside the chip, then clean the area with an alcohol wipe.
- Do not lean body weight on the windshield.
- Peel one side of the adhesive disc, keep its tab facing up, center it over the chip, and press it firmly. Peel the top layer, center the pedestal over the disc, and press around it.
- Tape the edge of the pedestal area so leaking resin is caught; fold the tape over the edge.
- Fill the pedestal with resin to the top, then press the syringe plunger fully in and seat the syringe into the pedestal.
- Pull the plunger back to the locking tab to create a vacuum, and wait until no more air bubbles come out. Knock lightly around the chip to vibrate trapped air out.
- Remove the syringe, reinsert it to let air in, then compress the plunger to push resin into the chip. Lock it with the top tab.
- If a cloudy spot remains, push the plunger in slightly more (not too much, or the disc may blow out), then tap around the chip.
- Slide a razor under the pedestal and disc, then peel them off. Do not wipe with paper towel.
- Add one drop of resin on the chip, place the curing strip over it, and squeegee out bubbles with a razor.
- Let it cure about an hour in shade or cloudy weather; in direct sun it takes a few minutes. A UV flashlight can also cure it, as professionals do.
- Remove the curing strip by lifting the edge without pulling the resin out of the chip, then scrape away the remaining layer of resin on top of the glass perpendicular to the glass with a razor.
- The presenter notes that using too much pressure on the plunger can blow out the disc and spill resin everywhere.
- Repaired chips may leave a faint mark visible only at certain angles.
Bottom Line
A small, shallow, non-edge chip is worth repairing at home with a vacuum resin kit for a nearly invisible result, while larger, edge, or long cracks call for windshield replacement.