 digest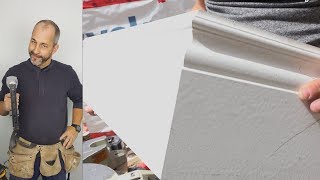
Short Summary
Main recommendation: Glue and nail mitered baseboard or trim corners together as a complete assembly before installing them on the wall, rather than nailing each piece to the wall first. The video demonstrates making both inside and outside miter joints for 7-1/4 inch trim, which is too tall to cut standing up on a 12-inch saw, so the saw is tilted to 45 degrees. It also recommends installing the pre-joined trim first and then caulking the top edge, which gives a cleaner finish when walls are not straight or square.
Key Points
- The 7-1/4 inch trim is too tall to cut standing up on a 12-inch saw, so the blade is tilted to 45 degrees for the miter cut.
- Pre-assembling the corner avoids problems from walls that are never straight or square, since drywall mud work often builds up corners unevenly.
- Trim is pre-assembled with glue and a few nails, then left to dry before installation.
- For outside corners, the piece is marked where the corner falls and extended by about 1/16 inch on both sides so the joint can be closed tightly.
- Gluing trim joints is presented as the way to prevent the cracks the speaker says are common in modern trim and door casings.
Details Worth Noting
- Concrete instructions:
- Measure the lumber, mark the cut line, and cut at 45 degrees on the saw. Turn the trim around and cut the opposite end the same way for the inside corner.
- Test-fit the two pieces so they meet tightly before gluing.
- Put glue on the joint, press the two pieces together, and nail them with a few nails. Let the glue dry.
- Install the assembled corner on the wall, then fill the top edge with caulk. Caulk may need two applications depending on the wall's condition.
- Paint the wall and the trim afterward to get a clean line.
- For an outside corner, place the wood against the wall, mark the outside corner with a pencil, add about 1/16 inch, then glue, close the gap, and nail.
- The speaker uses 3/4 inch thick pine trim, and the gluing advice relies on that thickness.
- The video shows the process but does not give exact glue or nail types, nail spacing, or drying time.
Bottom Line
Pre-gluing and nailing miter joints off the wall, then caulking and painting after installation, is the approach the video presents for tight corners on large trim.


