 digest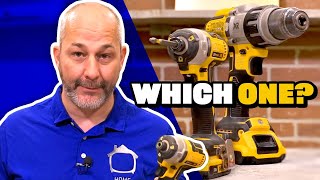
Short Summary
Main recommendation: If you can only buy one tool, get the impact driver for everyday driving and fastening, and add a drill for precision, torque control, and drilling holes or masonry. The speaker says that if you plan many renovations, buying both is the best choice. He frames this as advice for homeowners, not professional tradespeople.
Key Points
- The impact driver delivers repeated hammering bursts under high torque, so it can drive long screws, such as three-inch framing screws, through two, three, or four feet of lumber without stalling.
- The drill applies steady rotational force and has adjustable torque settings that stop the tool when resistance exceeds the set level, which protects cabinet hardware and small screws from breaking.
- The drill has a hammer function that pounds while it rotates, making it useful for cinder block walls and concrete.
- The impact driver is lighter and is the speaker's everyday tool, but the drill is heavier and is used when precision, control, or flexibility matters.
- Using a spade bit in the impact driver is slow and noisy, while the drill handles the same bit much faster.
Details Worth Noting
- Concrete instructions: To fasten panels to a concrete basement floor, pick a masonry drill bit that matches the screw size, tighten it in the chuck by holding the chuck, set the drill to hammer function, and drive it straight down. Keep pushing until the bit has passed through the bottom of the hole, so no obstruction remains. Do not clean out the hole, because the leftover concrete dust helps the screw hold through compression. Then switch to driving mode and drive a Tapcon screw straight home without worrying about torque. Use a Phillips head rather than a hex head for OSB finishes so the screw sits flush.
- To insert a bit into the impact driver, push it in until it locks, and pull the collar to release it. To insert a bit into the drill, reverse the chuck to open it, slide the bit in, switch to forward, and hold the chuck until it is tight.
- For cabinet hardware, start at a low torque setting on the drill and increase one number at a time until the screw is snug.
- Start the impact driver at a lower speed setting when learning, because the bit can slip and injure your hand.
- Slow the drill's variable speed and reduce torque for spade bits to avoid strain on your wrist.
- The speaker used a DeWalt 20-volt max XR impact driver, has bought a replacement drill almost yearly from heavy use (joking he's not a good endorsement for using tools properly), and mentions a half-inch drill bit and extension bit for building decks and reaching high spots.
Bottom Line
Choose the impact driver first for speed and fastening, then add a drill when you need torque control, precision, or hammer drilling into masonry. Owning both covers nearly all homeowner renovation tasks.


